Everything I know about the Surmount Any% Speedrun all in one place.
Recommended Settings 
The Juan Hop trick seems way more consistent on lower FPS on my machine. 30FPS with V-Sync on seems like the way to go. The lower frame rate might help with letting go at the appropriate time? It’s unclear to me how this trick actually works under the hood.
Bindings 
You should bind a button to Unhook the rope you’re attached to. By default you can wiggle the left stick to do this but pressing a button is faster.
Binding retract/extend rope to the triggers is something I’d like to experiment with.
Pathing 
| Name | Description | |
|---|---|---|
| Tutorial skip / Speedrun mode | Saves ~5-10min. Secret path that skips the tutorial and decreases the number of cutscenes you need to button through. I learned this from @miphos on Discord. | |
| Z3R1 - Omar Skip 1 | 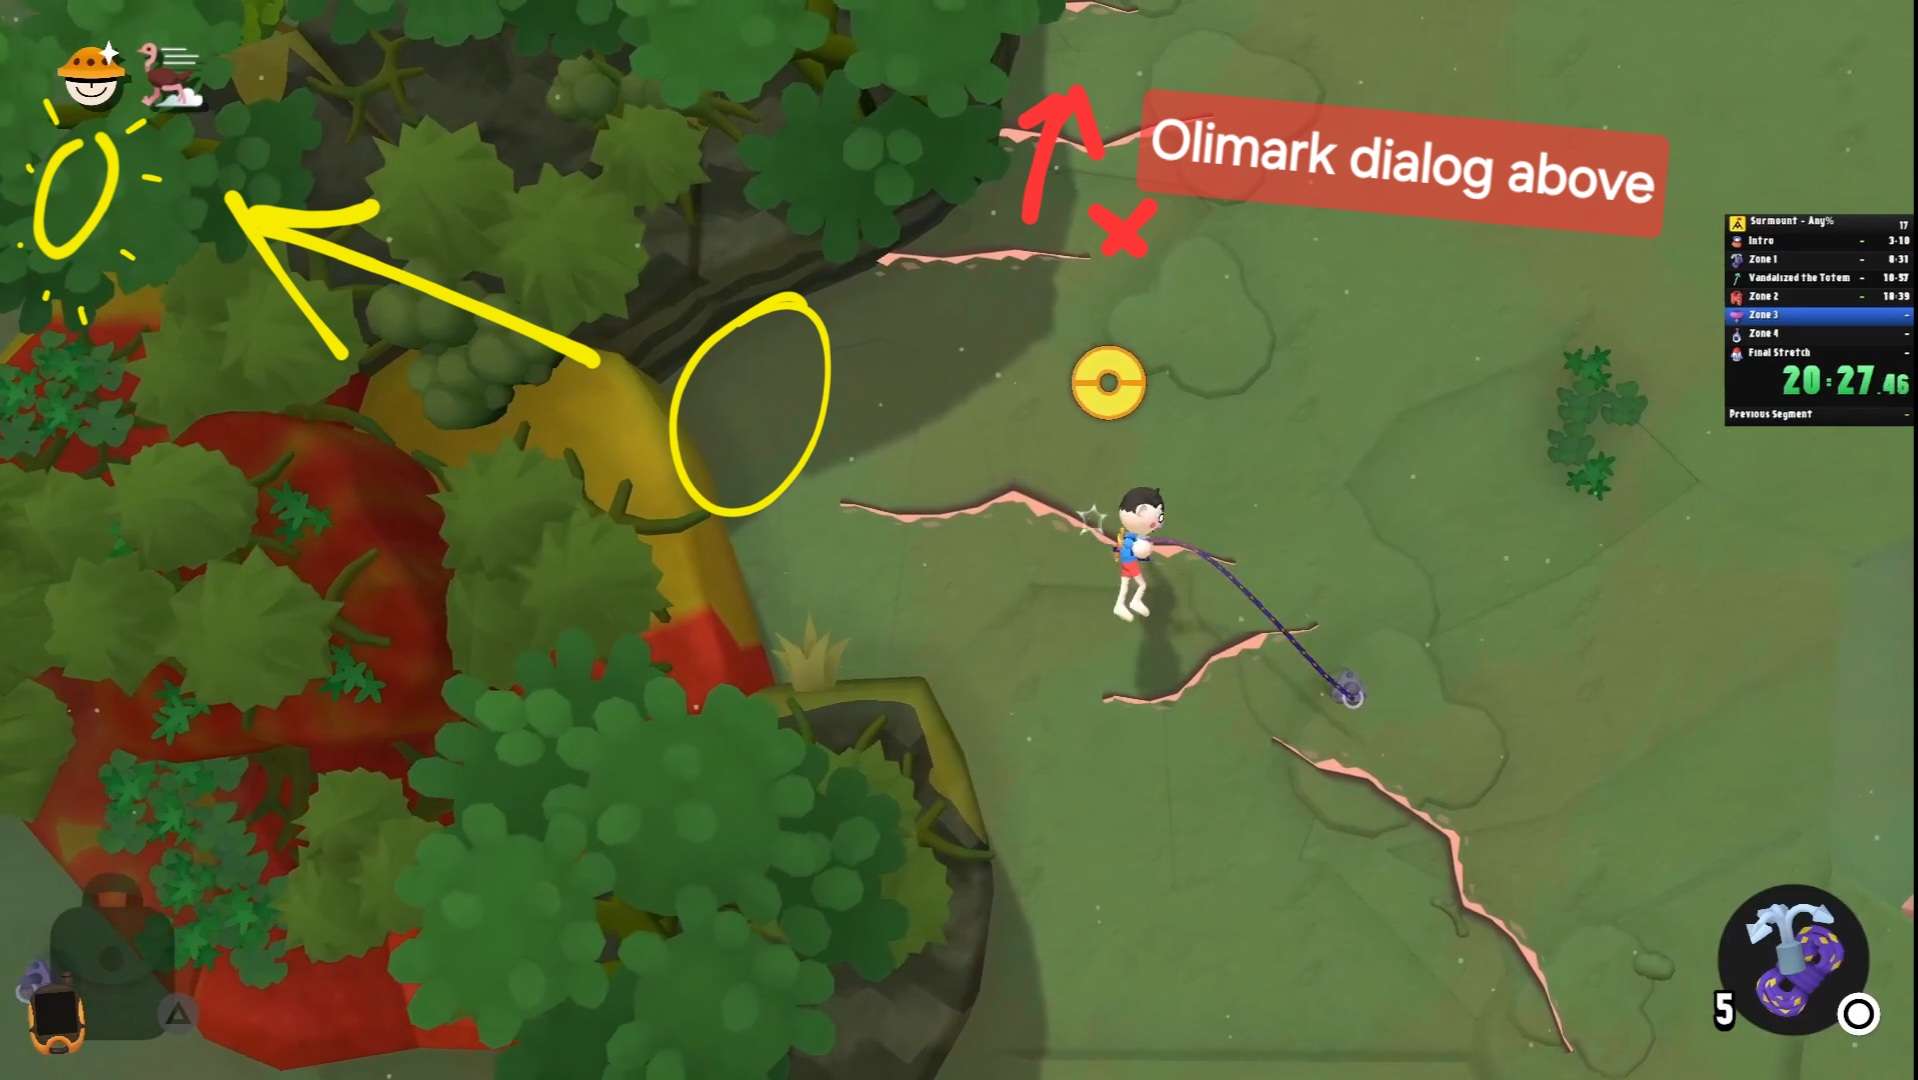 | Saves ~1min. Requires a Teleporter. I learned this from @miphos on Discord. |
| Z3R1 - Omar Skip 2 | Saves 1min. I learned this on my own. | |
| Z4R1 - Rocks on Omar Skip | Video TBD | Saves ~2-3min. At some point (might be route dependent) you’ll find Omar with a ton of rocks on him, going near him will start what feels like the longest dialogue in the game. You can avoid that by continue to climb on the left and making use of an item or two (Thruster, Teleporter, maybe Rope) to correct your momentum and climb over an unclimbable wall. I learned this on my own. |
Basics 
Ledges 
No matter how much momentum you have, you’ll always be able to grab onto a ledge even when you would have skidded off of a regular 2D wall.
Cutscene Skipping 
Cutscenes are slow so you want to avoid the ones you can avoid. Some aren’t avoidable.
You can skip through cutscenes by holding down Start and/or mashing A/X.
Airborne Jump/Stall 
You can press A in the air to perform a mini-jump. You can only do this once until you grab onto to something or become grounded.
This jump doesn’t give you too much height but it might give you the extra height you need to reach a handhold.
What’s really interesting about this airborne jump is that it does SOMETHING to your momentum. It seems to not kill it completely but drastically reduce it.
If you’re not careful you can mess yourself up real bad with this, for example by trying to use this jump to go through boost hoops.
On the other hand, it gives you way more control than you would have otherwise of your momentum when you’re flying through the air (which is most of the time).
Tricks 
Juan Arm Climb 
Other names: Popeye Special
Difficulty: Easy
Holding on to something drains stamina. Holding on with one hand and spinning drains a lot of stamina.
If you run out of stamina, you fall and that’s not good in a game where you’re trying to go up as fast as possible.
The Juan Arm Climb involves you holding the left stick in the direction you want to go towards and lightly tapping the left or right bumpers rhythmically as your character swings themselves upwards with minimal stamina use.
You can also use this to climb on vertical cliffs/walls.
I learned this from @miphos on Discord.
Juan Hop 
Other names: Nkop’s Hop, Vaulting, Juan Sebastián Vega Arias
Difficulty: Medium
Flings you super far if done right. It’s not consistent enough to be used all the time but if you need the momentum/distance and you don’t need to be too precise, it’s worth a try.
- Jump while airborne. You can do this off of a grounded jump (jumping at an angle instead of straight up works best) or after letting go of a wall.
- Grab a background wall with both hands (pressing the bumpers at slightly different times might work better).
- Hold the stick toward the direction you want to be launched in.
- If you’ve done it right, one or both of your arms will be extended/stretched in a weird way. Let go of both bumpers when your character’s momentum is moving in the direction you want to go.
Resetting from this is possible if you didn’t do it right. Just let go of one hand and starting swinging with the other.
This trick seems to be frame rate dependent, see the Recommended Settings section for more context.
I learned this from @knop868 on Discord.
Juan Launch 
Difficulty: Easy
With a bit of setup, this trick allows you to fling yourself around 2 to 3 times as far compared to a regular jump. Beware, this uses about 1/4 of your stamina bar.
- Grab a solid surface with both hands such that your legs intersect with the ground.
- Hold the left stick away from the surface toward where you want to go.
- Press A.
I learned this from @knop868 on Discord.
Consumable Item Tier List 
| Tier | Name | Description | |
|---|---|---|---|
| S | 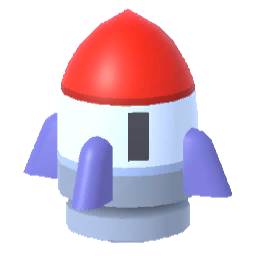 | Thruster | It launches you super far, super fast. It can be used effectively anywhere on the map. |
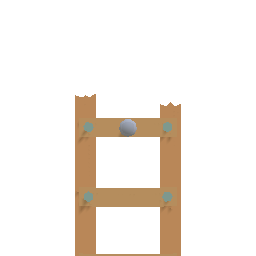
| S | 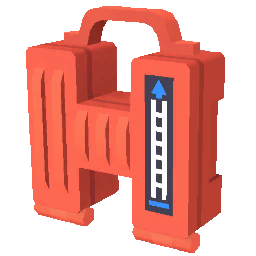 | Ladder | You can put it down anywhere and use it to climb anywhere. Using a ladder you can “break” hard platforming puzzles and make them easy. The ladder extends super far out. The only downside to the ladder is that it takes time to extend and sometimes when you deploy it, it just chooses not to. This is caused by windy maps but it seems to happen randomly at other times. |
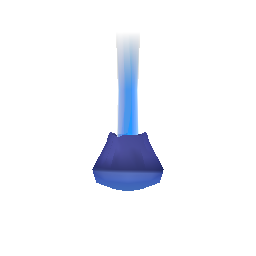
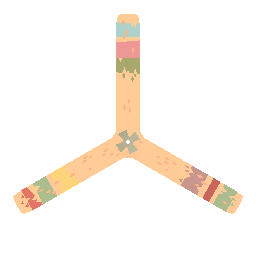
| A | 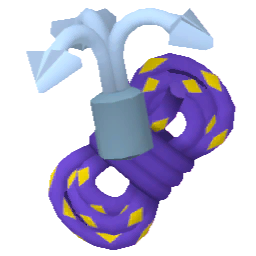 | Rope | An all-around good tool. Perfect for saving you from unexpected falls or allowing you to catch your breath after a long climb. You can retract the rope super fast by holding down on the D-pad and extend it by holding up. Interestingly you can climb on the hook itself once it’s attached to something. This can come in handy if you’re trying to climb on an unclimbable wall. When you’re falling and shoot the rope up it seems to maybe just keep going up disregarding gravity? TBD |
| A | 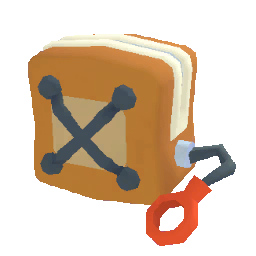 | Parachute | It’ll save you from falling to your death. It activates automatically if you have it selected and you start falling or you can activate it manually like any other item. Switching back and forth between something like the Hook Shot and the Parachute when doing risky maneuvers seems like a good safety trick. The parachute deactivates when you touch the ground. As you can imagine, an activated parachute will make climbing upwards awkward and slow do I don’t recommend it if you can avoid it. |
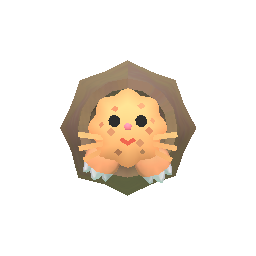
| A | 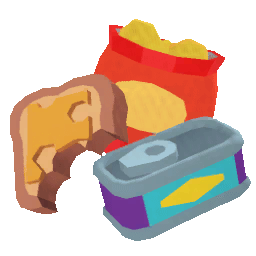 | Rations | An instant stamina boost from 0 to 300% is really good. The only reason it’s not S tier is because munching on an energy bar won’t save you from falling to your death. Eating also heals permanent stamina damage so I recommend always keeping one on you just in case. |
| B | 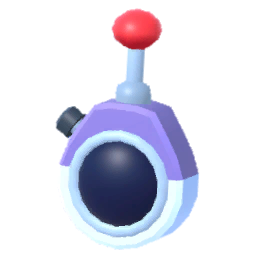 | Teleporter | It teleports you, it can even teleport you through walls. Not as useful as you might think because the range is short and it’s rare for walls to keep you away from a good route. Although I’m sure as more uses for the Teleporter are discovered it’ll rise to A tier. |
| B | 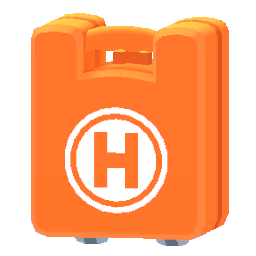 | Medkit | Like Rations but shittier. |
| C |  | Stake | You can shoot this at a unclimbable wall and then use climb with it. Not super useful. Apparently someone threw the spike and it attached to them allowing them to climb anywhere using the spike attached to themselves or something like that. TBD |
| D |  | Chalk | You can’t use this in-game, you have to open the menu to use it. This isn’t fast. The climbing chalk doesn’t last very long. I haven’t found a real use case for this item. Right now it’s a waste of an item slot. Using it is as fast as dropping it though so might as well use it if it’s in your inventory and you want to get rid of it. |
| D |  | Bouncepad | Inconsistent and it doesn’t do very much on its own. It might be useful for launching yourself into a solid wall and glitching your way up (I don’t know if this is possible but maybe?). This is the first item I get rid of if I need to make space in my inventory. |
Let me know if I missed any consumable items!
Equippable Item Tier List 
It seems like equippable items that drop from crates are randomly chosen from a set, for example, the high jump effect will be tied to some sort of shoes. Knowing which effect is tied to which sort of item helps you go fast because you can see when you pick up the item if it’s worth menuing to equip it or not. So let’s evaluate the effects.
| Tier | Effect | Item Category | Description | |
|---|---|---|---|---|
| S |  | High Jump | Shoes | Makes you jump higher. No brainer on this one. |
| A |  | Stamina Boost | Tanktop - Caps | More Stamina More Good. |
| C |  | Magnetic Hands | Long Sleeve Shirts/Sweaters | Increases the length/reach of your limbs. Probably not worth using. Makes climbing feel different and weird. I’d have to practice a bunch with this sweater before I would be comfortable using it in a run. |
| D |  | Protective Helmet | Puffy Jacket - Helmet | Protects you from damage (fall damage?) somehow. You shouldn’t be getting hurt in the first place, and if you do you should have some rations on you or some berries around you to nibble on to get that stamina back. This is a waste of an item slot IMO. |
Let me know if I missed any equippable items!
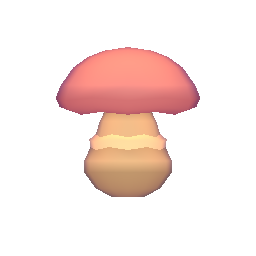
Mushrooms 
I have no clue how mushrooms work, I’m not sure if their effects are randomized or not.
All I know is that:
- I ate a stubby green (I think?) mushroom that made me move really fast.
- I ate a tall purple (I think?) mushroom that made me constantly lose stamina.
Mushrooms are rare and eating them seems like kind of a crap shoot. I’m probably going to do it anyway for knowledge but I don’t think it’s “good”.
Things 
Names for most of these come directly from the game files with some exceptions.
| Name | Description | |
|---|---|---|
 | Anchor | |
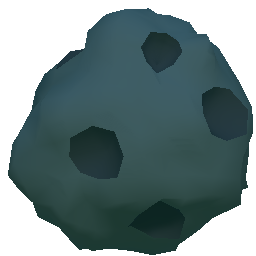 | Asteroid | These can be grabbed onto and stood on. |
| Asteroid (Falling) | Like the Asteroid but falls down until it hits either you or the ground. Don’t get hit by this, usually run ending. |
 | Berry Bush | Slows you down but can be grabbed onto. Sometimes contains berries you can eat for extra stamina. |
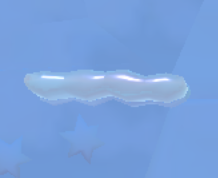
 | Bouncy Mushroom | These bounce you pretty far. Touching one of these while having a bit of horizontal momentum seems to multiply it so you can use a Mushroom to go pretty far horizontally. See this timestamped video for an example of this. |
 | Boost Hoop | Go through at least 3 of these hoops to reliably boost yourself following the trajectory of the hoops. Try not to jump while you’re in the air going through hoops, this might kill your momentum. |
 | Crumbling Ice Platform | Land on these with a bit too much force and they’ll crumble. |
 | Frozen Waterfall | These can be grabbed onto but if Juan grabs onto the bottom half of this, this half will detach from the rest of it and become a physics object. You can still grab onto this and fling yourself gently as long as you don’t hold on. |
 | Geyzer | These regularly shoot streams of water which can boost you up quite high. If you reach them in between cycles, it might be faster to skip over it and climb normally if possible. |
 | Ground (Snow) | This crumbles when you land on it with enough force, be gentle and you won’t break it. |
 | Hanging Ladder | |
 | Hanging Log | These freely rotate on an axis when weight is placed on either end. |
 | Juan / Juana | This is the player character. |
 | Launcher (Climber) | Similar to the Launcher (Projectile) but when interacted with, can be climbed into. Once inside the launcher, it can be rotated and when activated a second time it will launch Juan very far in the direction the launcher is pointed at. |
 | Launcher (Projectile) | These launch rocks or snowballs in the direction they’re facing. If these projectiles hit you with enough velocity (it doesn’t take much), you will take permanent stamina damage and lose control temporarily. They can be rotated manually by grabbing onto them but I don’t know why you would do that. |
 | Launcher (Projectile, Rotating) | Like the Launcher (Projectile) but rotates around its axis constantly. |
 | Moving Grabby Creature | Similar to the Whirlwind. Avoid these. Once you’re caught in them I don’t know if there’s any way to escape (maybe a thruster?). |
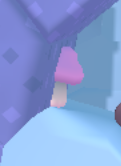 | Mushroom | These can be found rarely throughout the game. Interacting with them applies a temporary effect on Juan (speed boost, stamina draining, etc.). |
 | Popper | These pop out of their holes on a global cycle, they can be grabbed onto. |
 | Propeller | Usually rotates around an axis but often spawns in broken. While holding onto these and spinning you seem to gain extra momentum. |
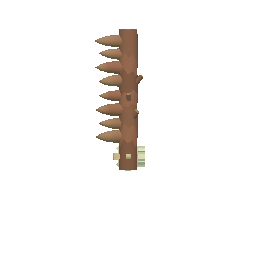
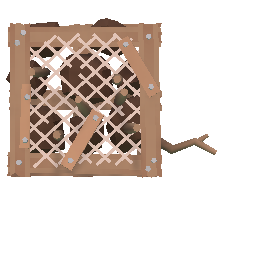 | Rock/Snowball Trap | Pulling on the little branch hanging out of the cage releases the rocks/snowballs. |
 | Snow Pile | Like the Berry Bush. |
 | Spiderweb | |
 | Spinning Log | These either constantly rotate around their axis or can be rotated by Juan if the log is attached to a mechanism. |
 | Spinning Log (Spikes) | Like the Spinning Log but one side has damaging spikes on it. |
 | Thorny Bush | Hurts Juan when he bumps into it. |
 | Whirlwind | Similar to Moving Grabby Creature. |
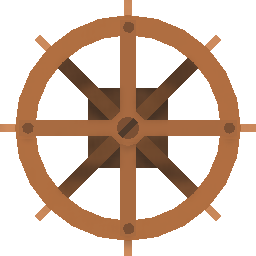 | Wooden Wheel | |
| Black Hole | TBD If you approach it, bad things happen. It seems to affect the gravity in a radius around it. | |
| Button | Can be pressed to rotate a bridge (name?) 90 degrees or open a gate. | |
| Icicle | These fall on you if you walk under them (?) or grab onto them. | |
| Ledge | These mess with your ability to climb. You can still reliably swing on them most of the time but if you go too hard you might fall into a pit. | |
| Locked Gate | Sometimes you can get through these without pressing the button associated to it. | |
| Mechanism | ||
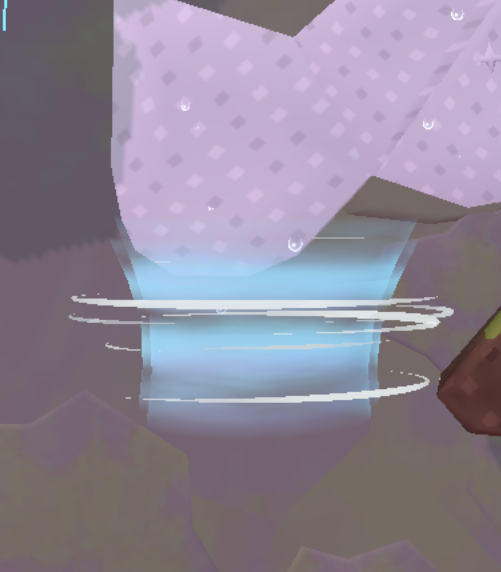
| Sucky/Pushy Water Holes | These are paired up. One hole sucks you into it and the other pushes you away from it. If you’re sucked into the sucky hole then you’ll come out from the pushy hole. | |
| Wooden Rope Bridge | Can be broken or not. Physics enabled or not. Hard to climb. |